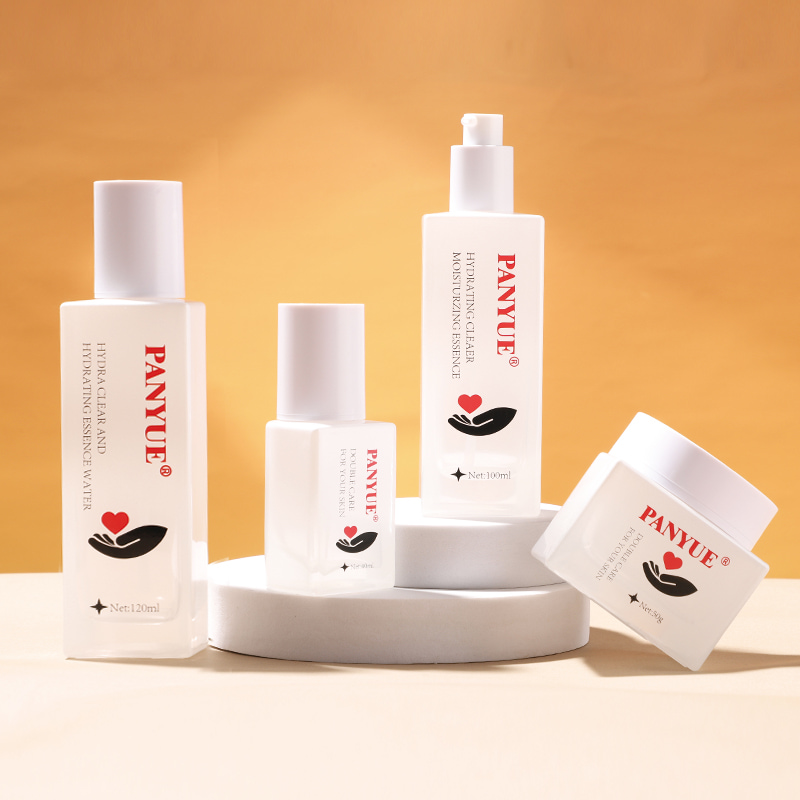
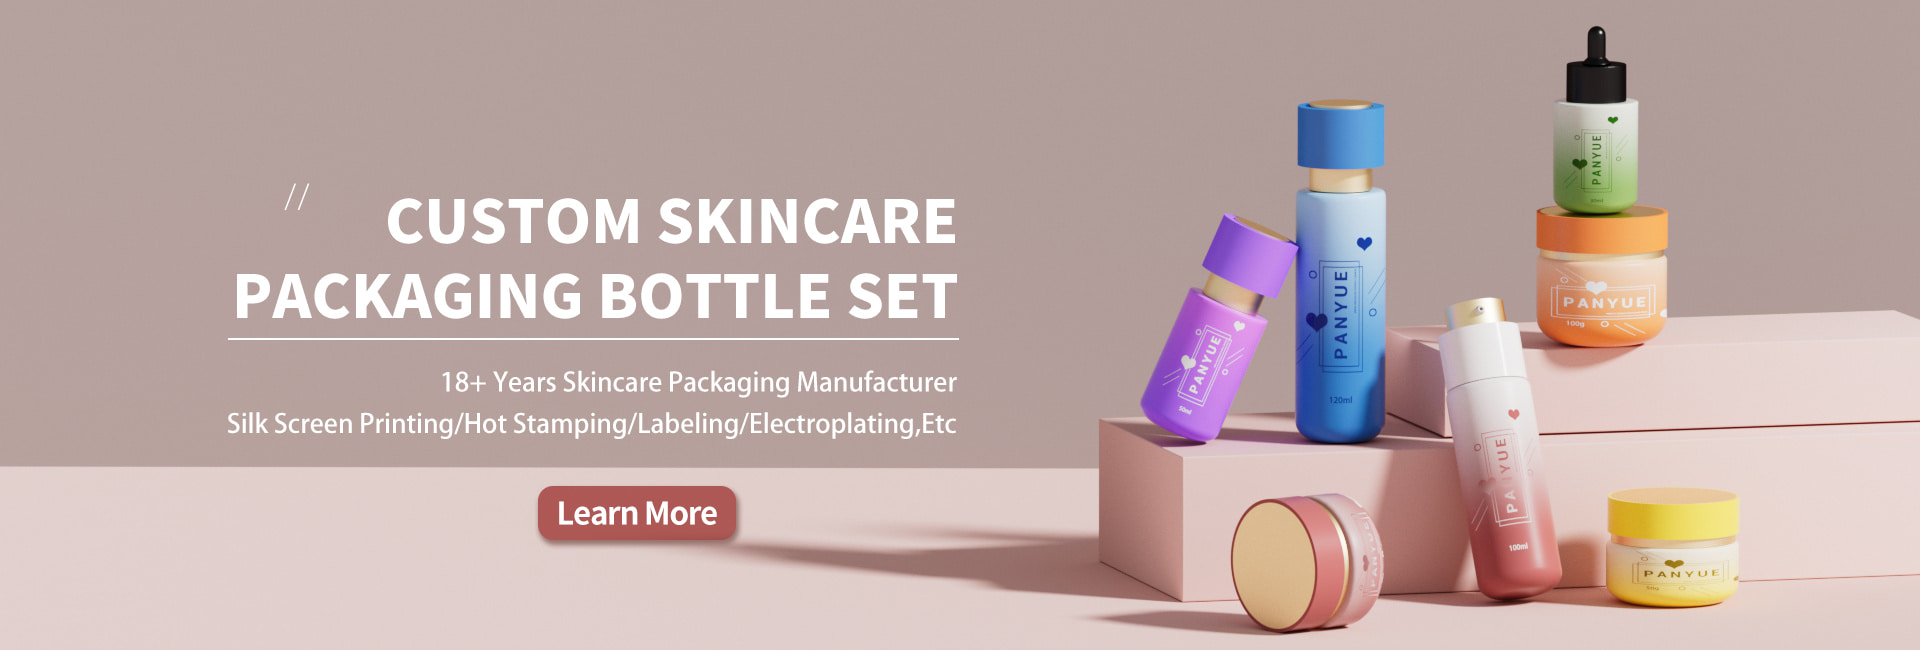
Tired of the same old packaging problem with your skincare products? The cosmetic bottle set from Panyue Packing steps in with real solutions. You get versatility for all your serums, creams, and toners. Premium glass and bamboo materials keep your skincare safe and looking great. Customizable features let you create a look that matches your brand. These cosmetic bottle set solutions help with leakage, hygiene, convenience, dispensing, and even sustainability.
- Cosmetic bottle set options give you the freedom to solve any packaging challenge.
- Premium materials protect your formulas and boost your brand’s image.
- Customization means your cosmetic bottle set fits your style, not the other way around.
- The cosmetic bottle set brings real solutions for sustainability and everyday use.
Key Takeaways
-
Cosmetic bottle sets offer versatile solutions for all your skincare packaging needs.
-
Premium glass and bamboo materials protect your products and enhance your brand image.
-
Customizable features allow you to create packaging that reflects your unique style.
-
Airless pump technology keeps your skincare fresh and reduces contamination risks.
-
Refillable packaging supports sustainability and helps reduce waste.
Cosmetic Bottle Set for Leakage Prevention
Secure Closures
You know the frustration of opening your bag and finding your favorite serum has leaked everywhere. With the Panyue Packing cosmetic bottle set, you can leave those worries behind. Each bottle features secure closures designed to keep your skincare safe and sound. Pumps, droppers, and fine mist lids all work together to lock in your products and prevent messy spills.
-
Effective cosmetic packaging preserves product quality and prevents leakage.
-
Inadequate sealing can lead to wasted product and even contamination.
-
Specialized sealing mechanisms, like non-drip valves and screw-lock closures, keep your formulas fresh and secure during transport.
-
Airless bottles with vacuum pumps stop air from entering, so your skincare stays potent.
This attention to detail in closure design is a real example of innovation and differentiation. You get peace of mind, whether you’re tossing your moisturizer in a gym bag or shipping products to customers.
Durable Glass Materials
The material of your packaging matters just as much as the closure. Panyue Packing uses high-quality glass for its cosmetic bottle set, which means you get an airtight seal that keeps moisture and air out. Glass is non-reactive, so your skincare formulas stay pure and effective. Unlike some plastic alternatives, glass won’t interact with your products or let unwanted air sneak in.
-
Glass bottles create airtight seals, which are crucial for preventing leaks.
-
The non-reactive nature of glass ensures your skincare maintains its integrity.
-
The right type of glass can handle temperature changes and daily bumps, especially when designed with durability in mind.
Check out how different bottle shapes and sizes help reduce mess:
|
Bottle Type |
Key Features |
Spill Risk Factors |
|---|---|---|
|
Silicone Travel Bottles |
Leak-proof, flexible, squeeze design |
Handles pressure changes, prevents spills |
|
Twist-lock Mechanisms |
Multiple steps to open |
Reduces accidental openings, enhances security |
|
Glass Bottles |
Airtight, premium feel |
Lower risk with proper design and closure |
|
Basic Twist Caps |
Simple design |
Higher risk of spills |
|
Pump Dispensers |
Precision dispensing |
Secure pumps reduce accidental triggers |
|
Cream Containers |
Sturdy, heat-resistant |
Designed to prevent leaks in warm conditions |
Choosing the right packaging isn’t just about looks—it’s about innovation and differentiation that protect your products and your reputation.
Packaging Hygiene & Contamination Control

Individual Bottles for Each Product
You want your skincare routine to stay clean and safe. Using individual bottles for each product makes a big difference. When you keep your serum, lotion, and cream in separate containers, you lower the risk of cross-contamination. This means you don’t have to worry about bacteria or other impurities moving from one product to another.
Here’s what studies show about the impact of individual bottles in skincare packaging:
|
Evidence Type |
Description |
|---|---|
|
Reduced Cross-Contamination |
Individual sealing prevents contamination spread between doses, enhancing overall product safety. |
|
Quality Improvements |
89% reduction in contamination-related batch failures. |
You get peace of mind knowing your products stay fresh and effective. This approach also helps your skincare last longer, so you get the most out of every bottle.
Airless and Hygienic Dispensing
Airless pump technology takes your packaging to the next level. These pumps keep air out of your skincare, which helps prevent oxidation and bacterial growth. You get a precise dose every time, and your product stays untouched by outside elements.
-
Airless pump bottles prevent contact with air, reducing contamination risks.
-
They help maintain the effectiveness of sensitive formulations by minimizing oxidation.
-
The vacuum system dispenses product without letting air in, so your skincare stays potent and safe.
This kind of packaging is perfect for products that lose their power when exposed to air. You’ll notice your creams and serums stay fresher, and you won’t need as many preservatives. The premium glass and smart design of the Panyue Packing set support these hygiene benefits, giving you a routine that’s both safe and luxurious.
You can trust that your skincare stays protected from the first pump to the last drop.
Convenience & Portability in Skincare Packaging
Travel-Friendly Sizes
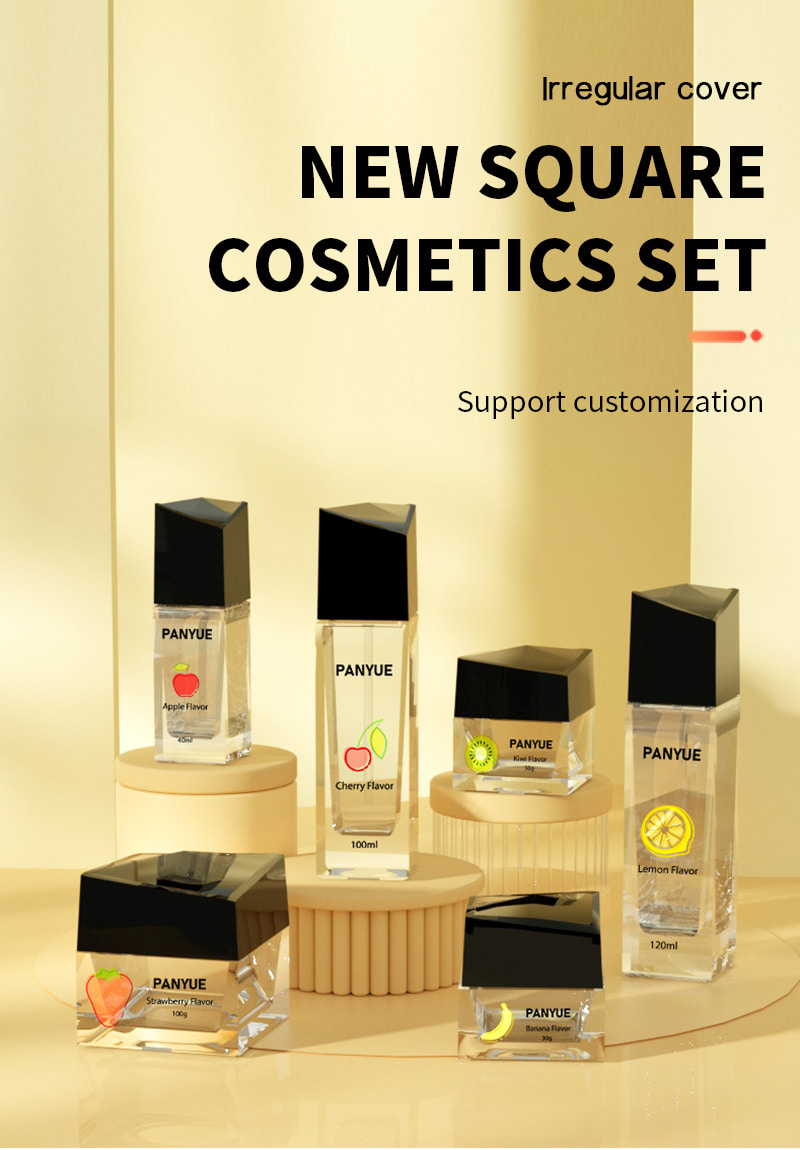
You want your skincare routine to fit your busy life. The Panyue Packing cosmetic bottle set makes that easy. You get a range of bottle sizes, from 30ml to 120ml, so you can pick what works best for your needs. The 50ml bottle is a favorite for travelers. It holds enough product for a trip but stays well below the 100ml limit set by TSA and international travel rules. You can breeze through airport security without worry.
Many people choose 50ml bottles for moisturizers, lotions, and serums. These sizes work great for travel sets and hotel amenities. You can also find 100ml bottles in the set, which still meet airline requirements. The lightweight glass and shatter-resistant design mean you do not have to stress about breakage in your bag. Leak-proof closures keep your products safe, so you never open your suitcase to a sticky mess.
Easy Organization
You know how messy a bathroom counter can get. Coordinated cosmetic bottle sets help you keep everything in order. Each product has its own bottle, so you do not mix up your creams and serums. The matching shapes and labels make your routine simple. You can spot what you need at a glance.
The variety of shapes—like square bottles for toners and round jars for creams—lets you organize by product type. You can line up your skincare in a neat row or stack jars to save space. This kind of packaging does not just look good; it makes your daily routine faster and less stressful.
-
No more searching for the right bottle.
-
No more spills or wasted product.
-
Just grab, use, and go.
With the right set, you turn your skincare shelf into a tidy, stylish space.
Consistent Dispensing Solutions
Precision Pumps and Droppers
You want your skincare routine to feel smooth and reliable every time. Precision pumps and droppers in the Panyue Packing cosmetic bottle set make that possible. Each pump or dropper gives you a measured amount, so you never waste your favorite serum or lotion. You get the right dose, every time, from the first use to the last drop.
-
The actuator design helps you avoid accidental squirts, so you stay mess-free.
-
High-quality pistons and chambers keep the pump working smoothly, even after many uses.
-
The spring inside each pump has just the right tension, making it easy to press and release.
-
Ball bearings prevent clogs and keep the seal tight, so your product stays fresh.
-
Dip tubes match the bottle height, so you can use almost every drop.
Droppers also offer impressive accuracy. You can expect each drop to be within ±10% of the target amount, which means you get consistent results for your skincare routine.
Controlled Product Flow
You deserve a skincare experience that feels effortless and clean. Controlled product flow features in these bottles make that happen. Airless pump technology ensures you use nearly every last bit of your product. You do not need to shake or cut open the bottle to get what you paid for. The vacuum system pulls up the formula, so you get a precise amount with each pump.
This design keeps air out, which helps your skincare stay fresh and safe from bacteria. You also avoid overusing your products, which saves money and extends the life of your favorite creams and serums. Many users find that airless pumps can dispense up to 95 percent of the product, making them a smart choice for both your wallet and the environment.
Controlled flow features also make your routine more satisfying. You get clean, targeted application every time. The packaging supports hygiene and convenience, so you can focus on enjoying your skincare, not fighting with the bottle.
Refillable Packaging & Sustainability
Eco-Friendly Materials
You want your skincare routine to support the planet. Refillable packaging gives you an eco-friendly alternative that feels good and looks great. When you choose glass bottles and bamboo droppers, you pick materials that help reduce your environmental impact. Bamboo grows quickly and renews itself, so it’s a smart choice for sustainable practices. Glass is fully recyclable and doesn’t react with your skincare formulas, keeping your products safe.
Refillable packaging lets you use the same bottle again and again. This simple switch leads to real waste reduction. Countries like Germany and the UK have seen big improvements in environmental impact by promoting refillable packaging. You help cut down on carbon emissions and keep more waste out of landfills.
Here’s a quick look at how recyclable materials compare to non-recyclable options:
|
Study |
Material Type |
Impact Reduction |
Findings |
|---|---|---|---|
|
Civancik-Uslu et al. (2019) |
Recycled HDPE |
Up to 29% |
Impact reduction for two-thirds of examined categories |
|
Stefanini et al. (2021) |
Recycled PET |
Lower than virgin PET |
Lower impacts across all examined categories |
|
Rybaczewska-Blazejowska and Mena-Nieto (2020) |
Recycled PET |
Preferable |
Recycled PET is better than virgin polymer |
You also want to know your packaging meets high standards. Eco-friendly materials often carry certifications that prove their sustainability. Take a look at what these certifications mean:
|
Criteria |
Description |
|---|---|
|
Sustainable Materials |
Materials must be renewable and sourced responsibly without depleting resources or harming ecosystems. |
|
Production Process |
Must minimize carbon footprint and resource consumption, reducing waste and pollution. |
|
Packaging |
Encourages minimal packaging using recycled and recyclable materials to reduce landfill waste. |
|
End-of-Life Considerations |
Products should be biodegradable, breaking down without releasing toxins into the environment. |
Customization and Branding
You want your skincare brand to stand out and connect with eco-conscious buyers. Customization in refillable packaging makes that possible. You can add your logo, pick colors, and design labels that show your commitment to sustainability. These choices help you communicate your environmentally friendly practices and attract customers who care about sustainability-driven purchasing decisions.
Here’s how customizable branding options influence buyers:
-
Custom colors and labels let you personalize your products.
-
Personalization builds a stronger bond between you and your customers.
-
Unique design helps your brand shine in a crowded market.
Refillable packaging with eco-friendly messaging shows you care about the planet. You make it easy for customers to choose sustainable packaging solutions. When you offer refillable packaging, you give buyers a reason to trust your brand and support your mission. You help lead the way toward a cleaner, greener future.
FAQ
How do I clean and reuse my cosmetic bottles?
You can rinse the bottles with warm water and mild soap. Let them air dry completely before refilling. For a deeper clean, use a bottle brush or a little vinegar. This keeps your skincare routine fresh and safe.
Can I customize the bottles with my brand logo?
Absolutely! You can add your logo, pick colors, and design labels. Customization helps your brand stand out. Just share your ideas with Panyue Packing, and they will guide you through the process.
Are the bottles safe for all types of skincare products?
Yes, the glass bottles work well for serums, lotions, oils, and creams. The non-reactive glass keeps your formulas pure. You can trust these bottles with both water-based and oil-based products.